Implement Website Speed Optimization by Using CloudFlare’s CDN.
What is a CDN? A CDN is a network of servers located around the world that can deliver your website’s content to your visitors more quickly. Cloudflare’s CDN is one of the largest and most reliable CDNs available, and can significantly improve the speed at which your website’s content is delivered to your visitors. Let’s get started with website speed optimization!
- We will enable Cloudflare’s CDN. By enabling Cloudflare’s CDN, you can offload the delivery of static assets such as images, JavaScript, and CSS files to Cloudflare’s global network of servers. This can reduce the load on your own server and improve the speed at which your website’s content is delivered to your visitors.
- We will also enable auto-minification. Cloudflare can automatically minify your website’s HTML, CSS, and JavaScript files, removing unnecessary characters and whitespace to reduce their file size and improve load times.
Point NS Records to CloudFlare’s Servers
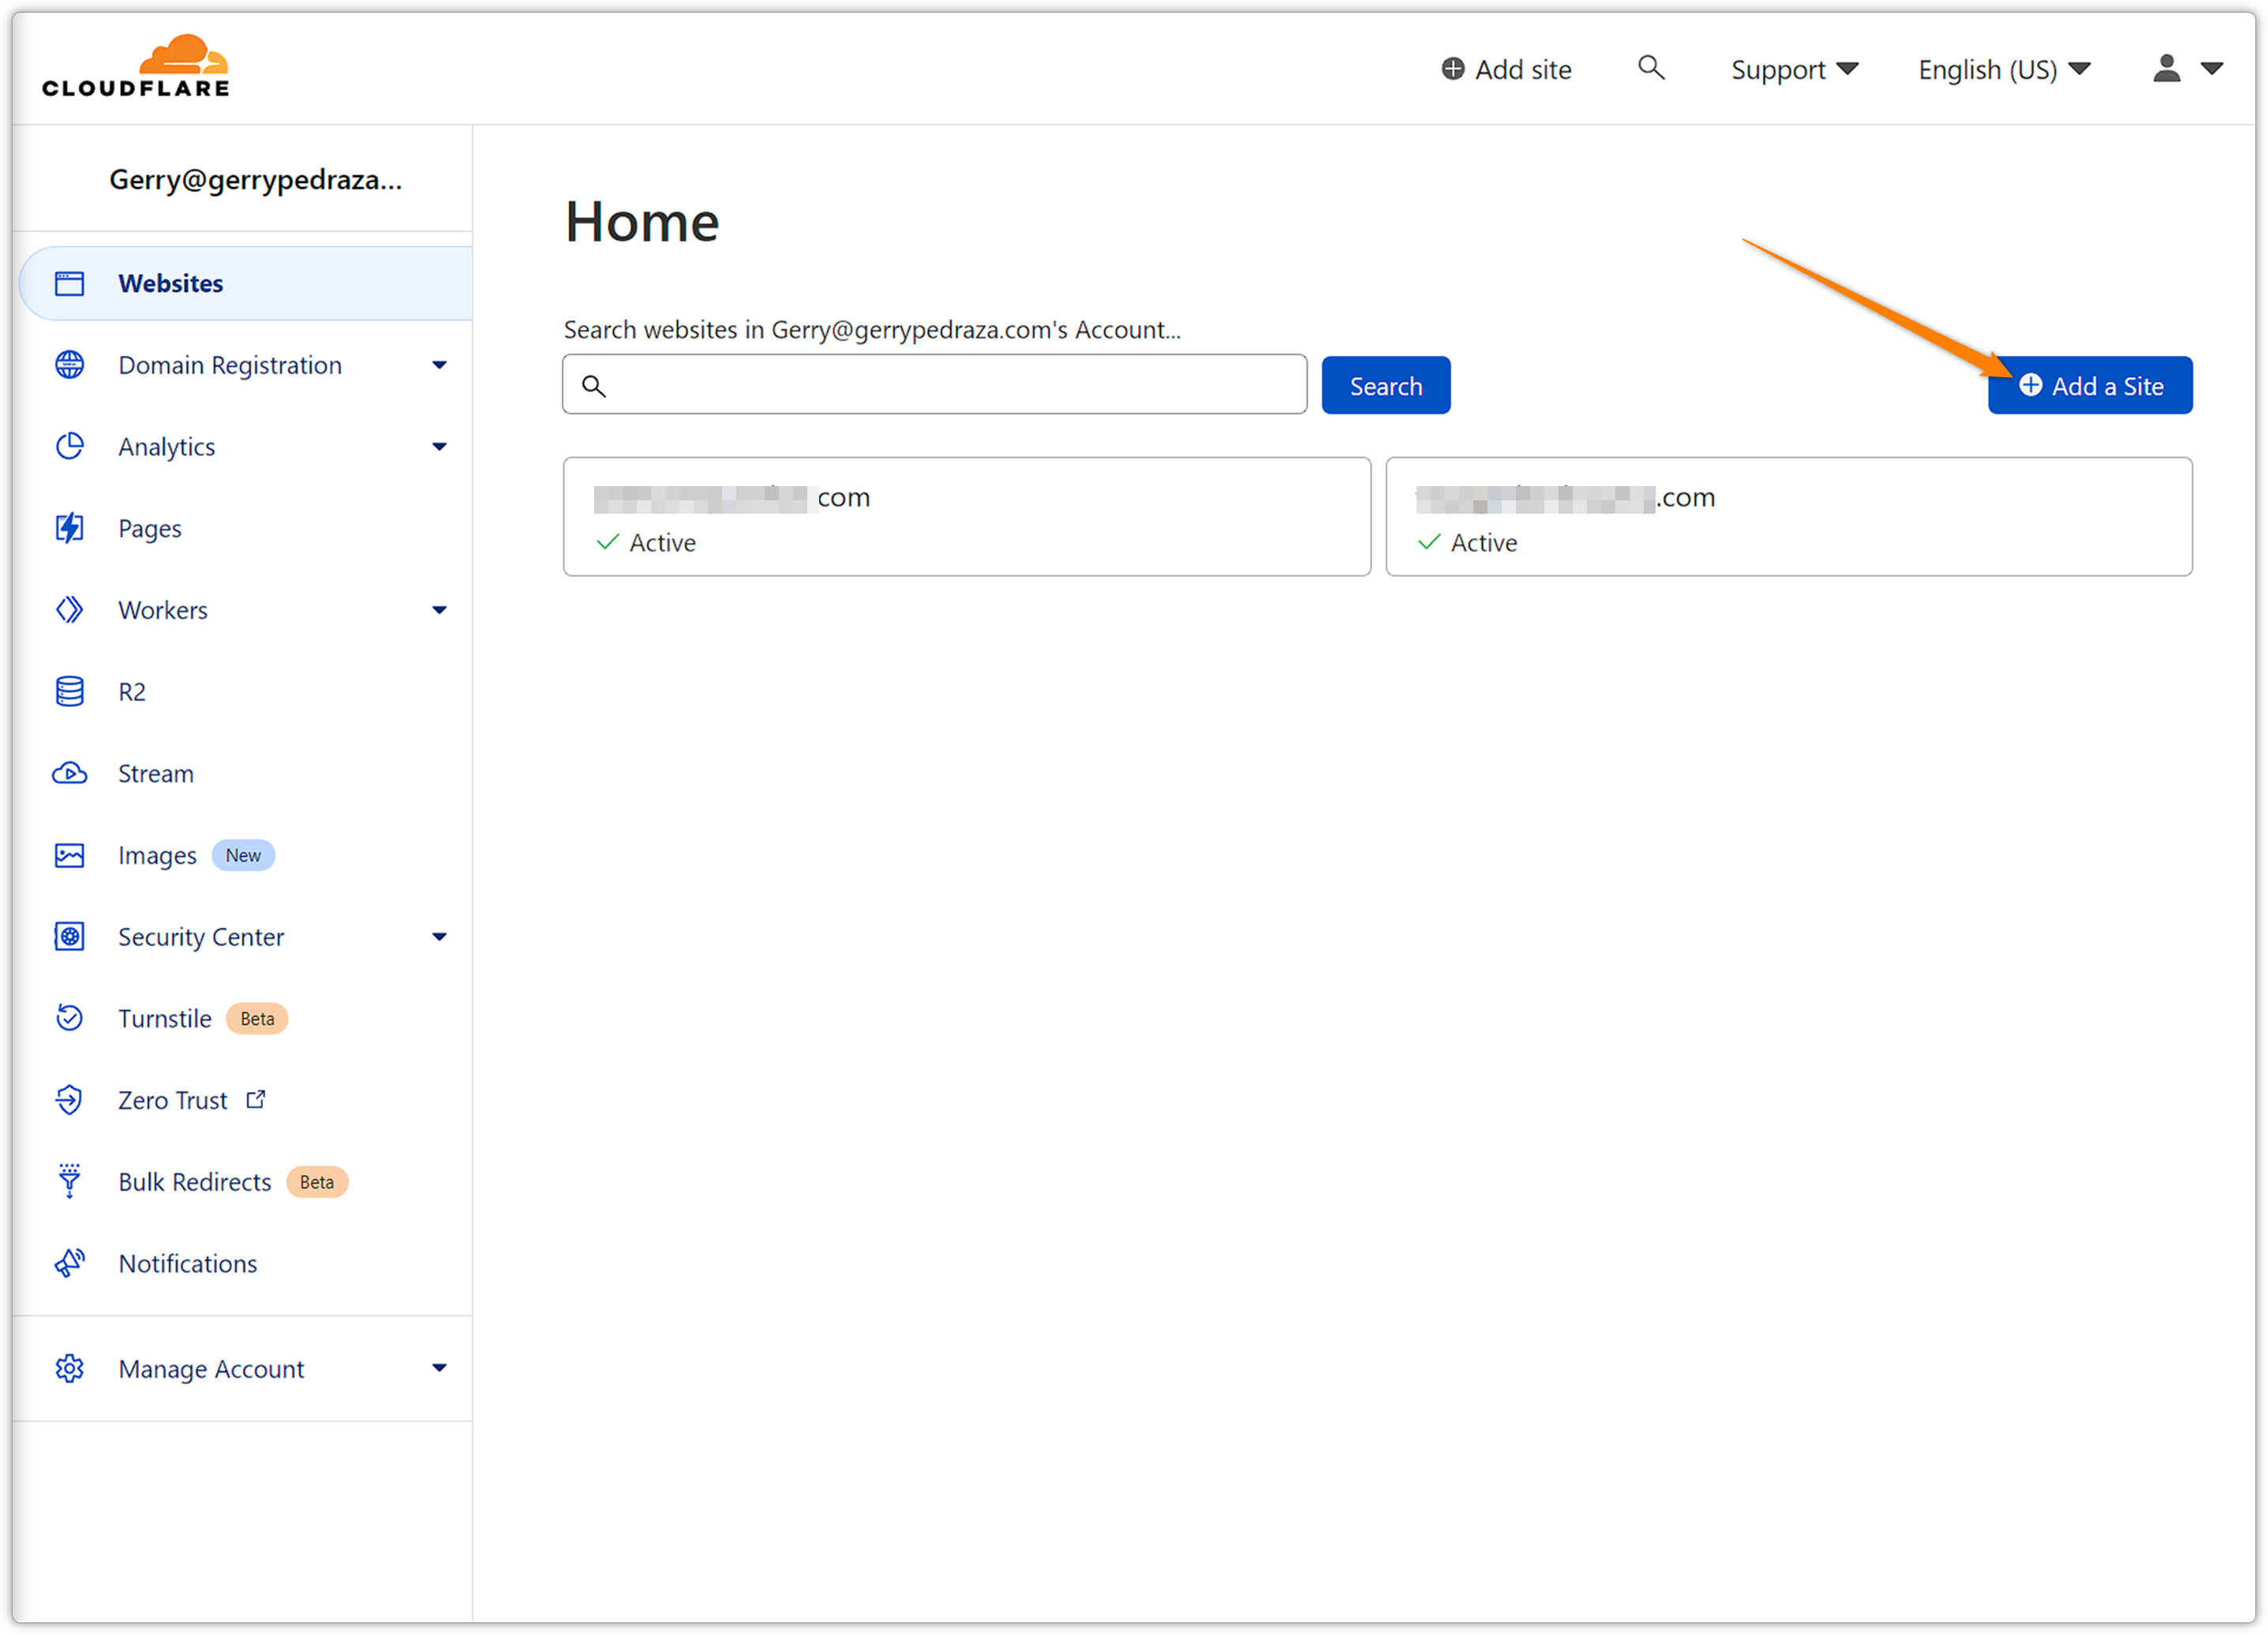
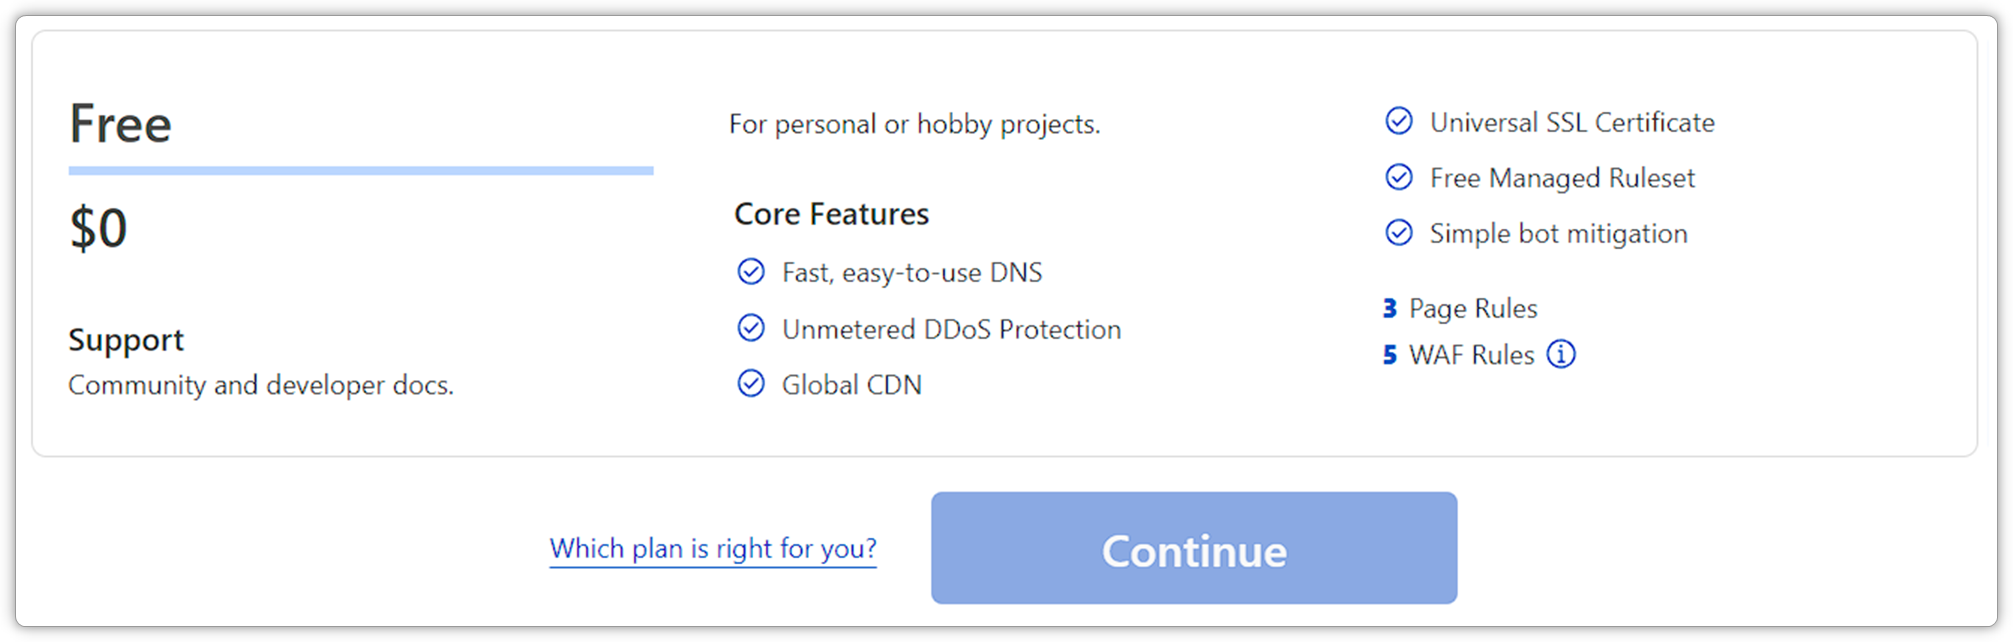
Select the Type of Plan
I would recommend starting with the free plan and then maybe move up to Pro if you need more features. There are mini plans just for WordPress inside the free plan too starting at $5.
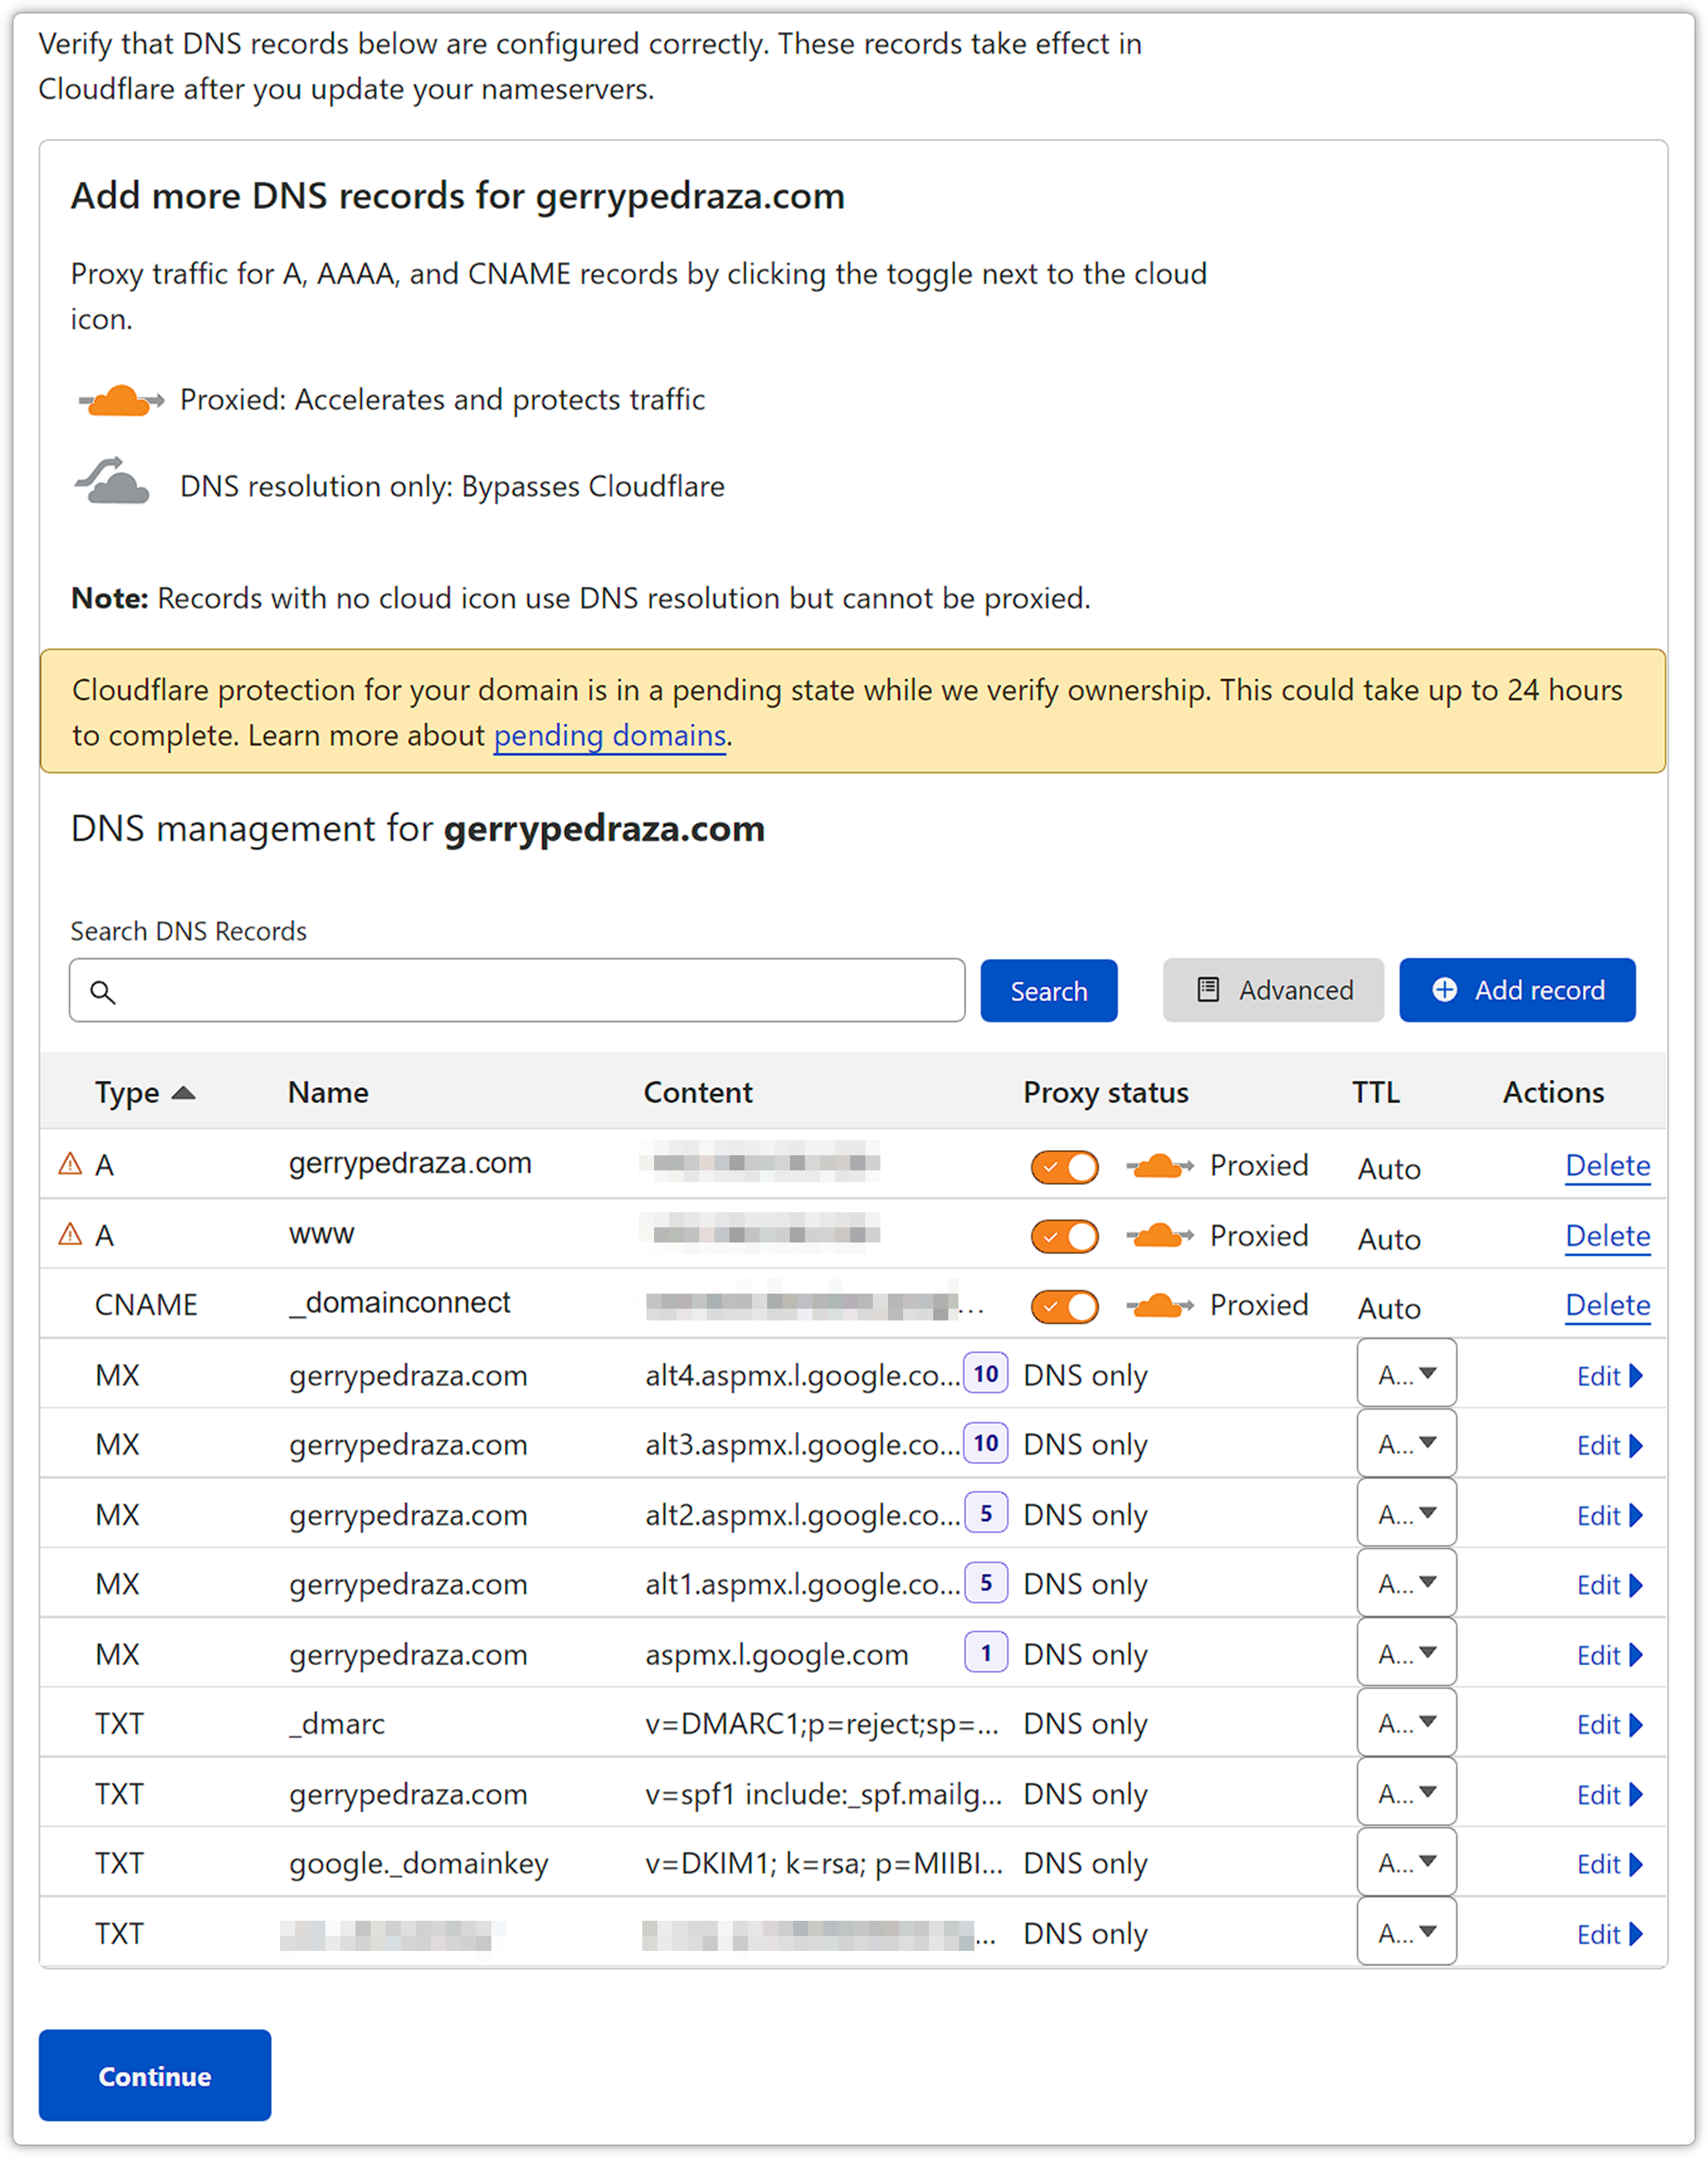
Import DNS Records and Confirm
Subdomains
CloudFlare reads the existing records and imports them for you. In my experience it imports them well unless you have subdomains. In that case you would have to type those in manually.
SSL/TLS Encryption Certificates
As you can see there are two exclamation marks next to the A records. These alert that there will be a problem with the SSL certificates that encrypt communication and that also tells my users that the URL and the IP number from my server match. I will have to reissue the current certificates once I point the NS (Name Servers) from my registrar to Cloudflare.
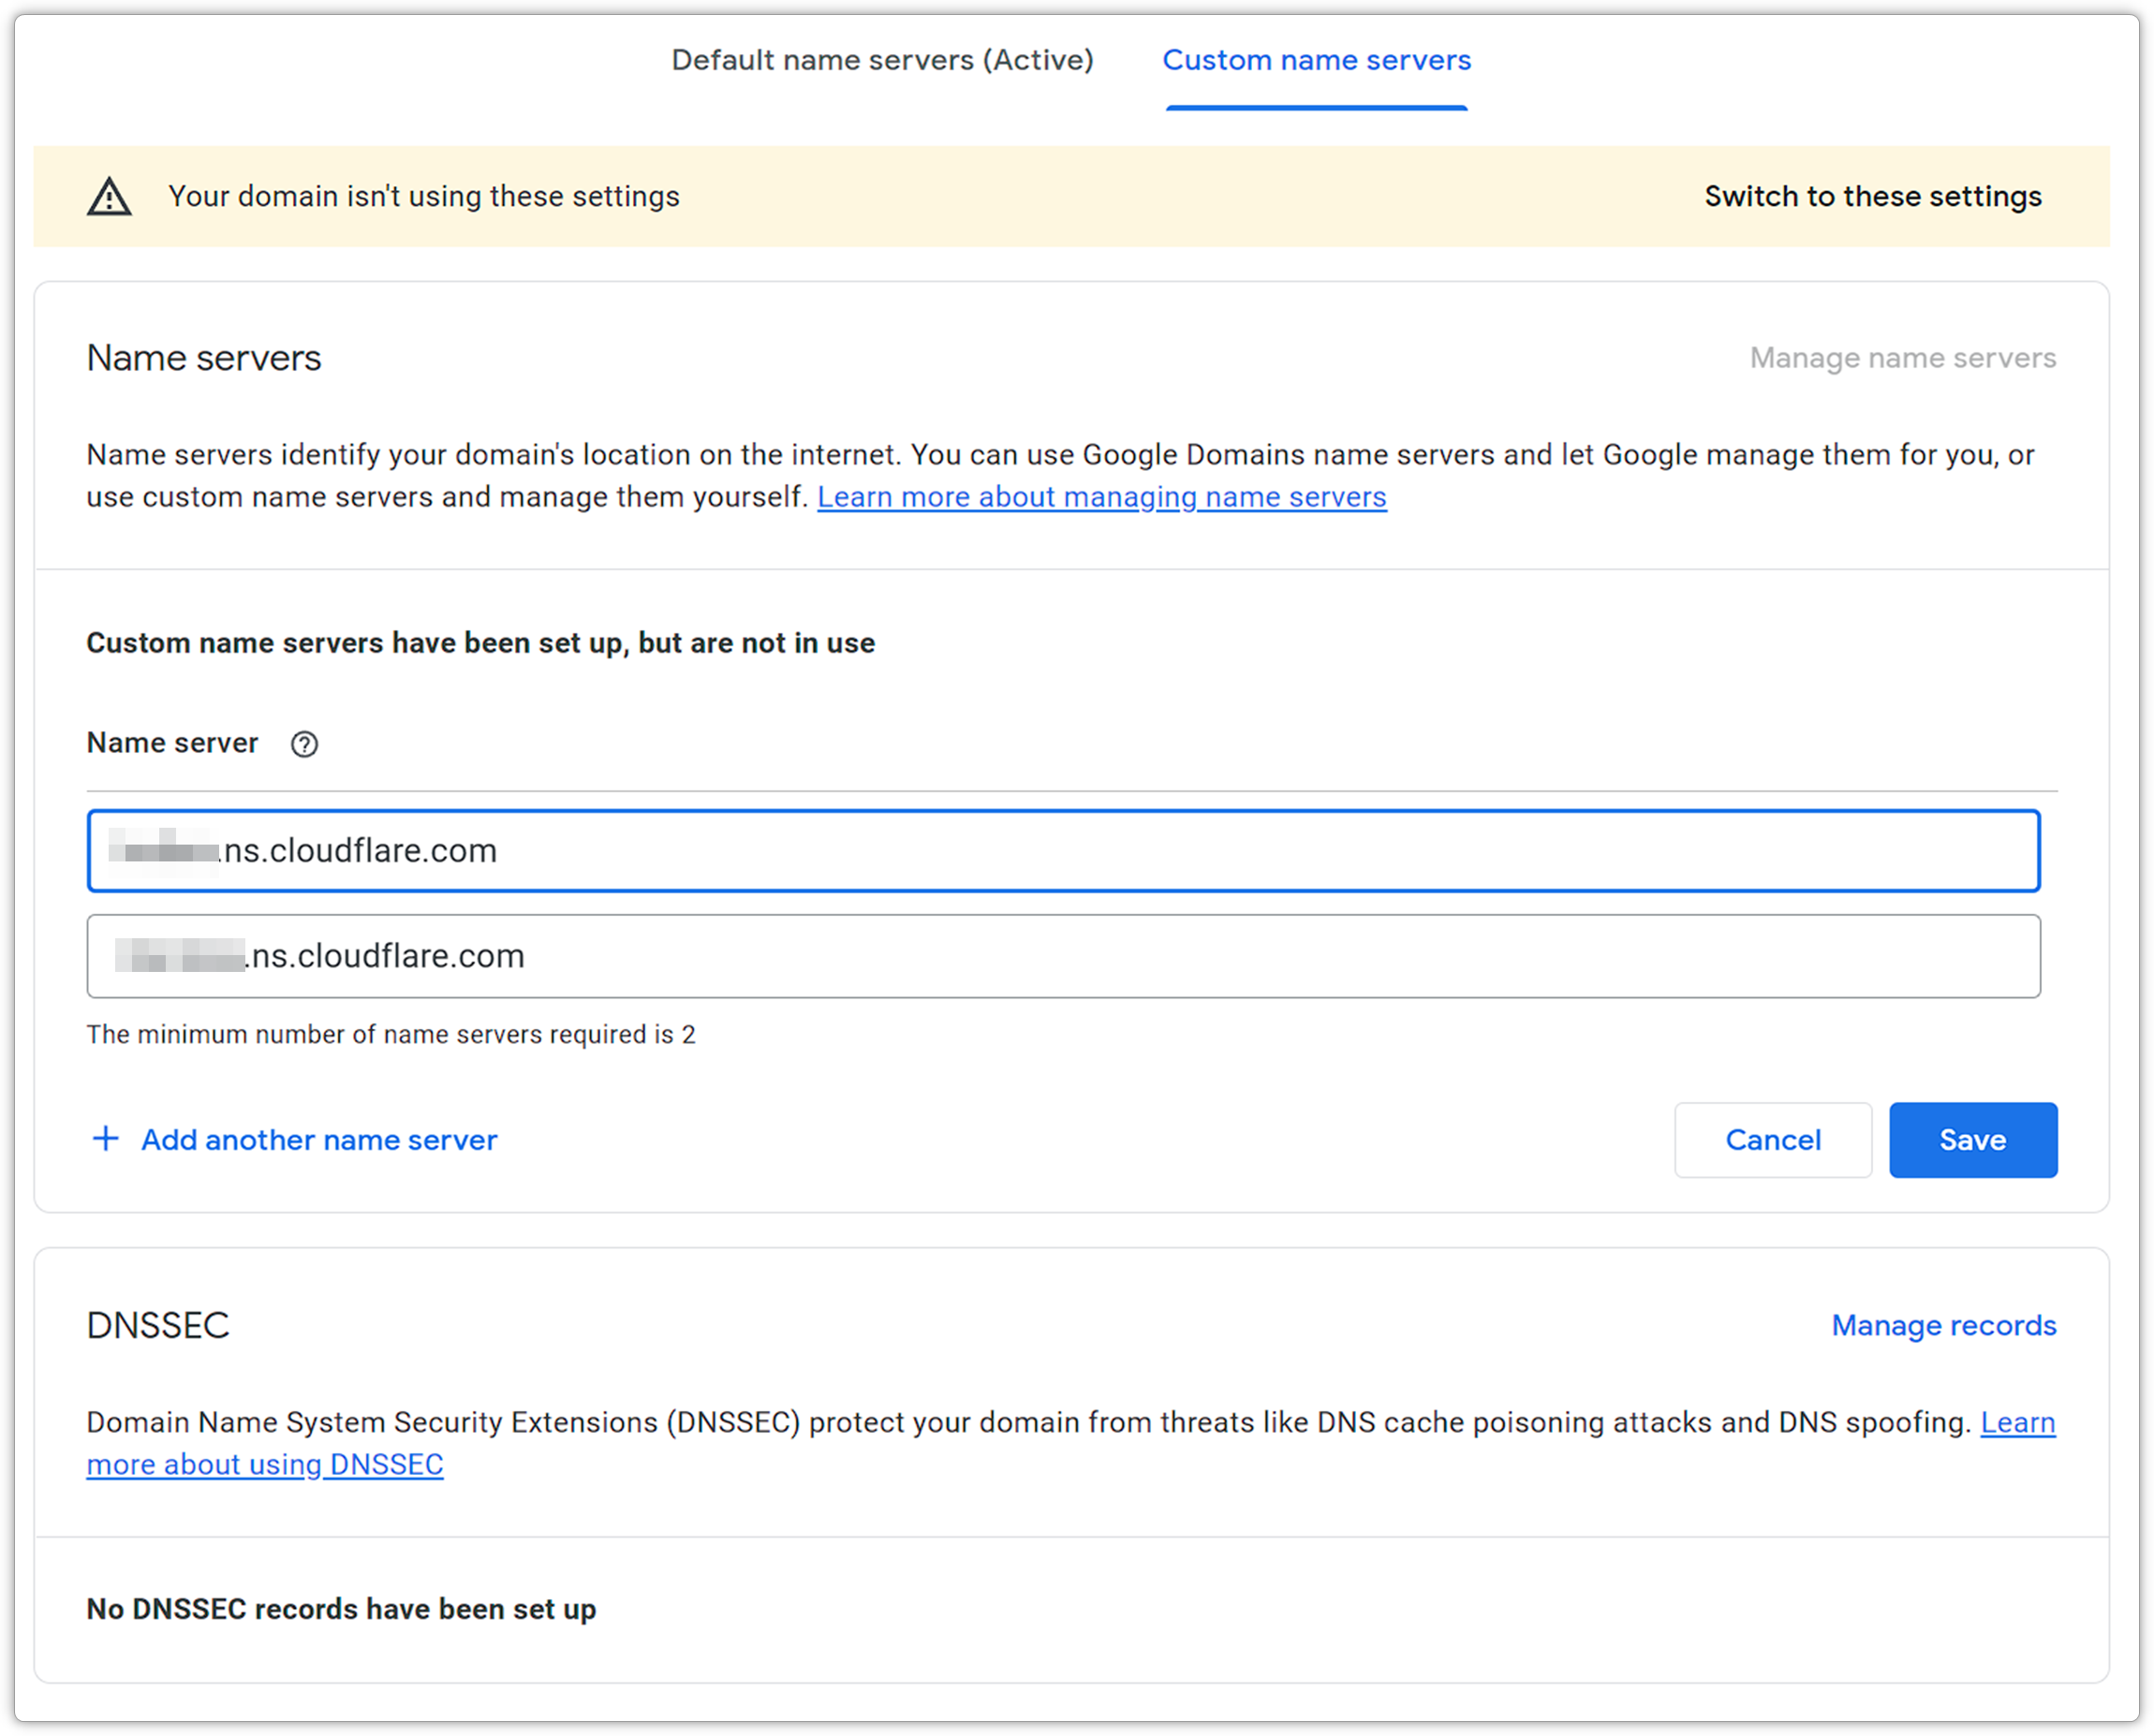
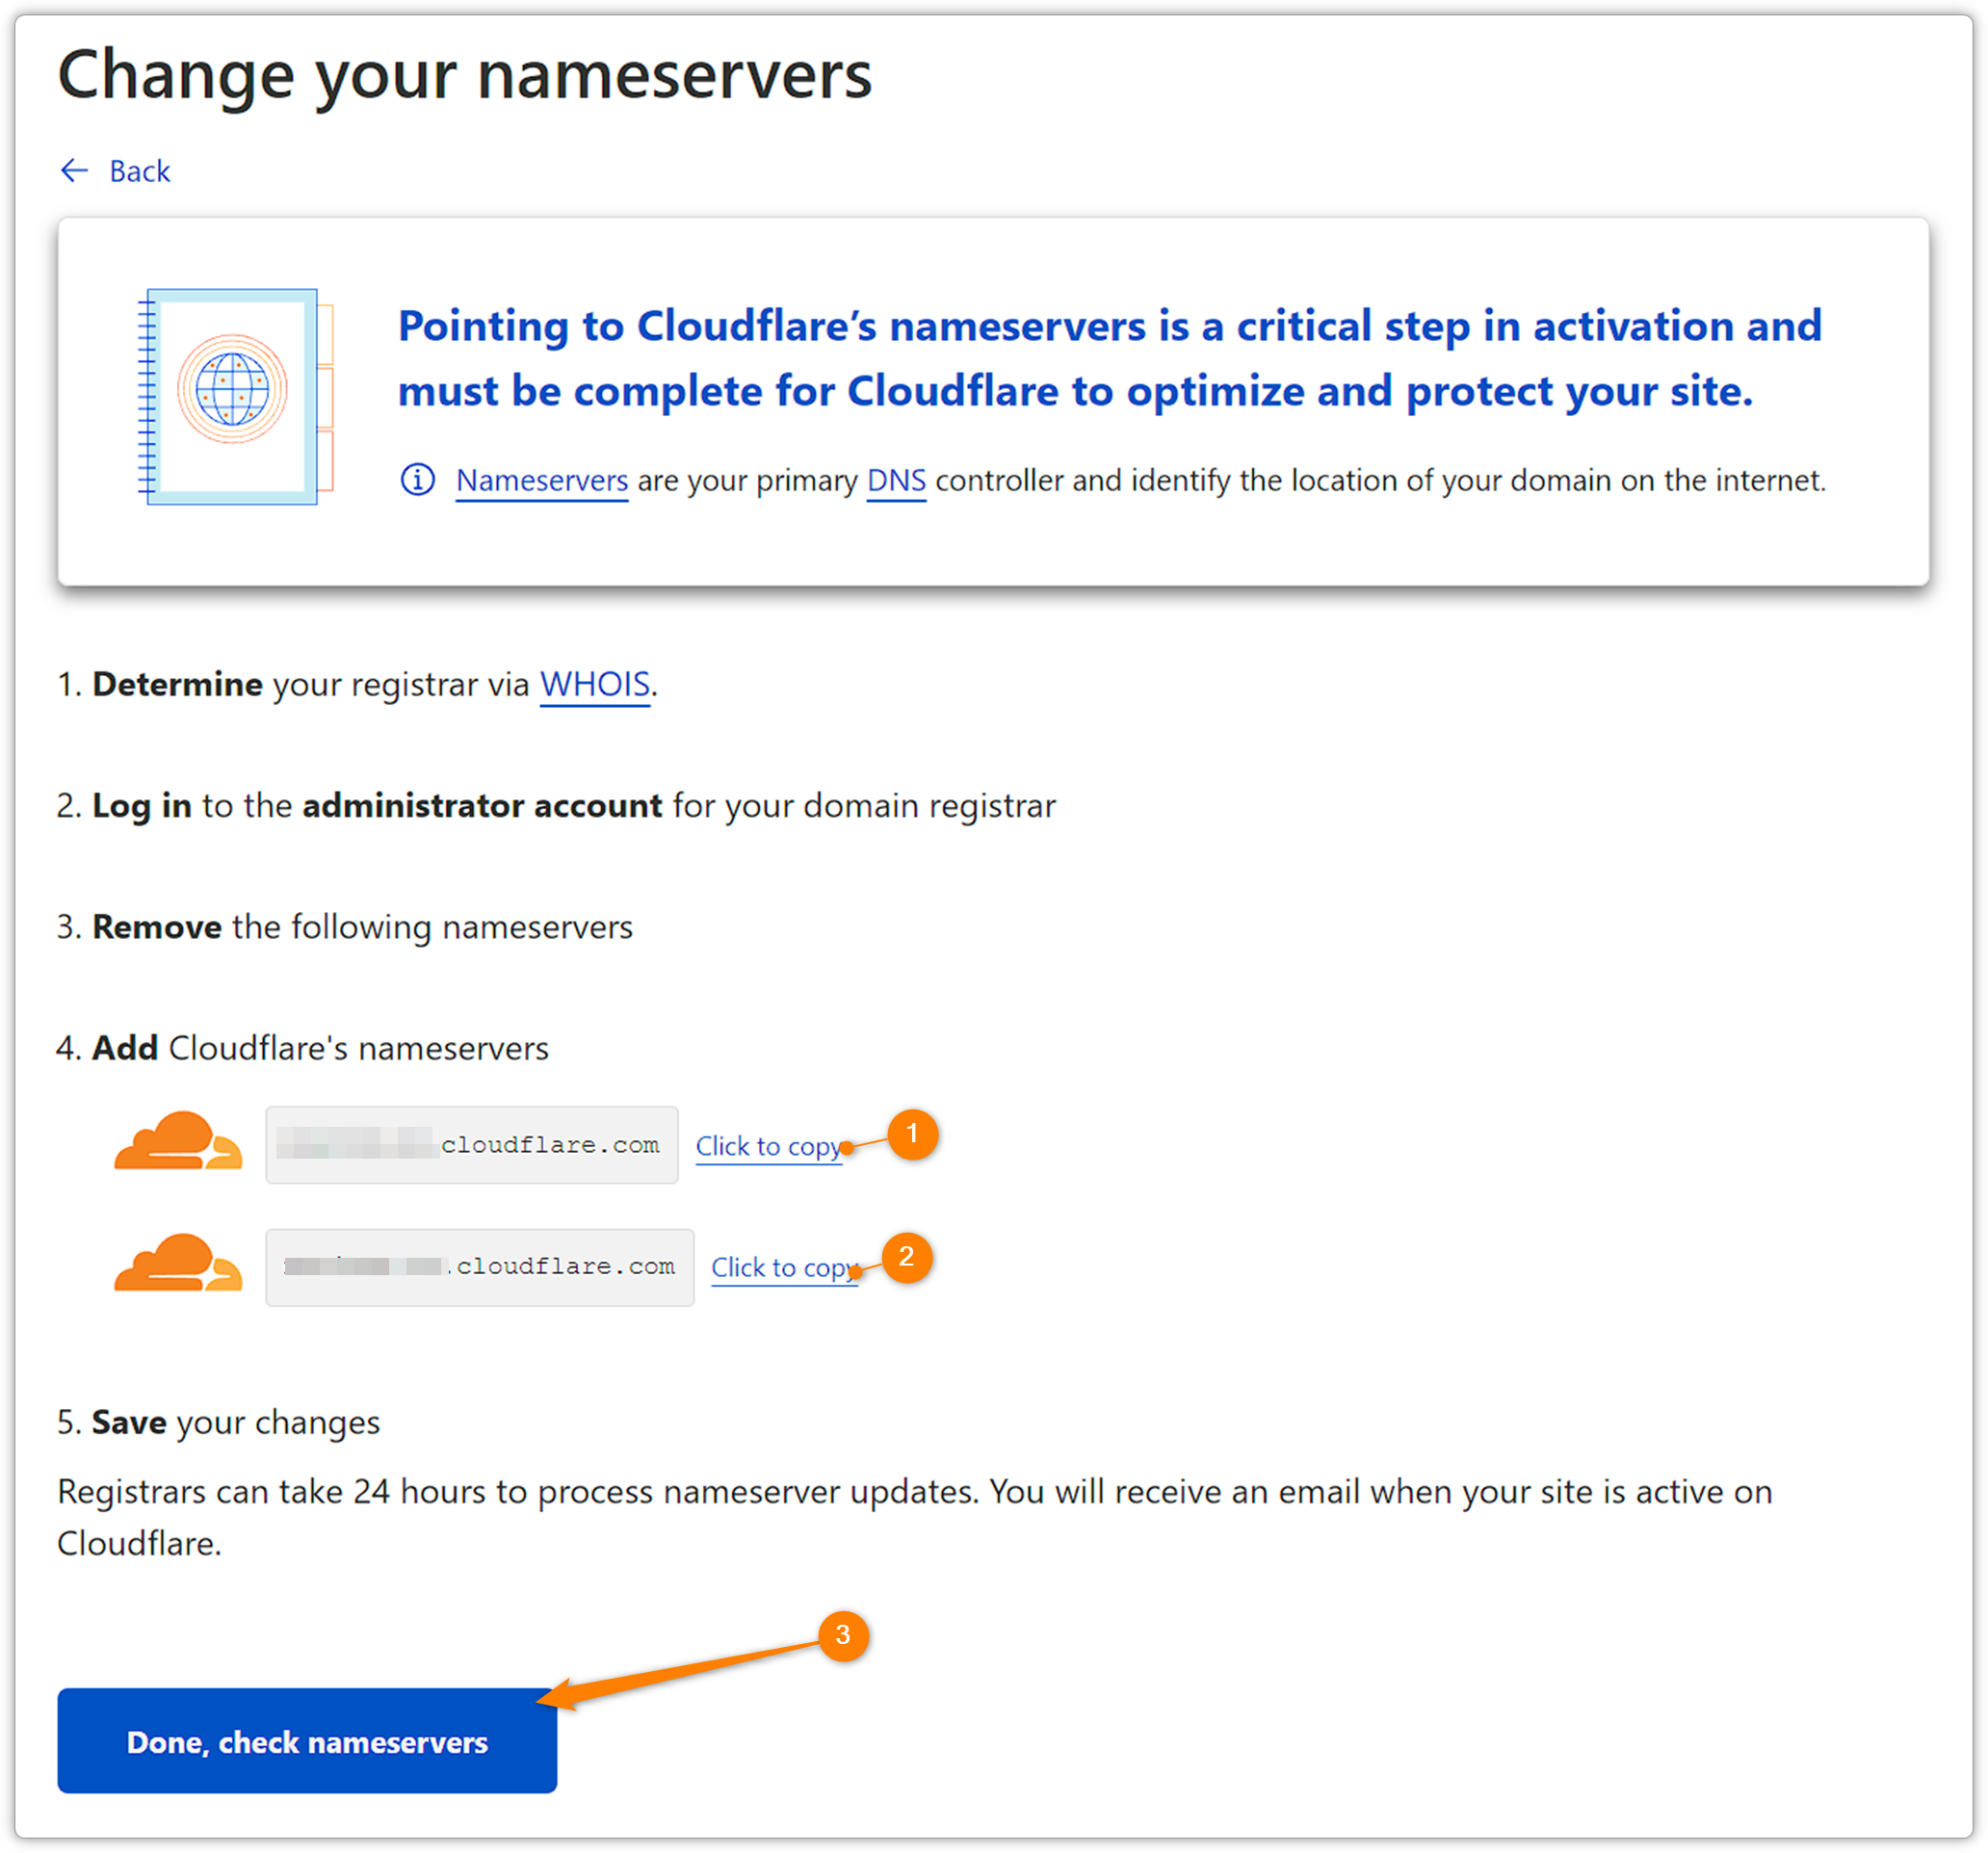
Change the NS Records
After clicking continue CloudFlare will as you to point your nameservers to their servers and helps you check where are your records located. In my case I use Google Domains so this next screen might be a bit different on your registrar. Basically you need to find where to manage the DNS records and change the NS records.
DNSSEC Disabling
Most likely you had DNSSEC protection enabled. I would recommend to disable this when transfering and you will have to reenable this on CloudFlare to prevent DNS poisoning attacks.
NS Records Google Domains
In your registrar’s DNS records now add the servers that CloudFlare asked you to add and save.

Check NS on CloudFlare
Now go back to CF (CloudFlare) and confirm your records.
Improve Security
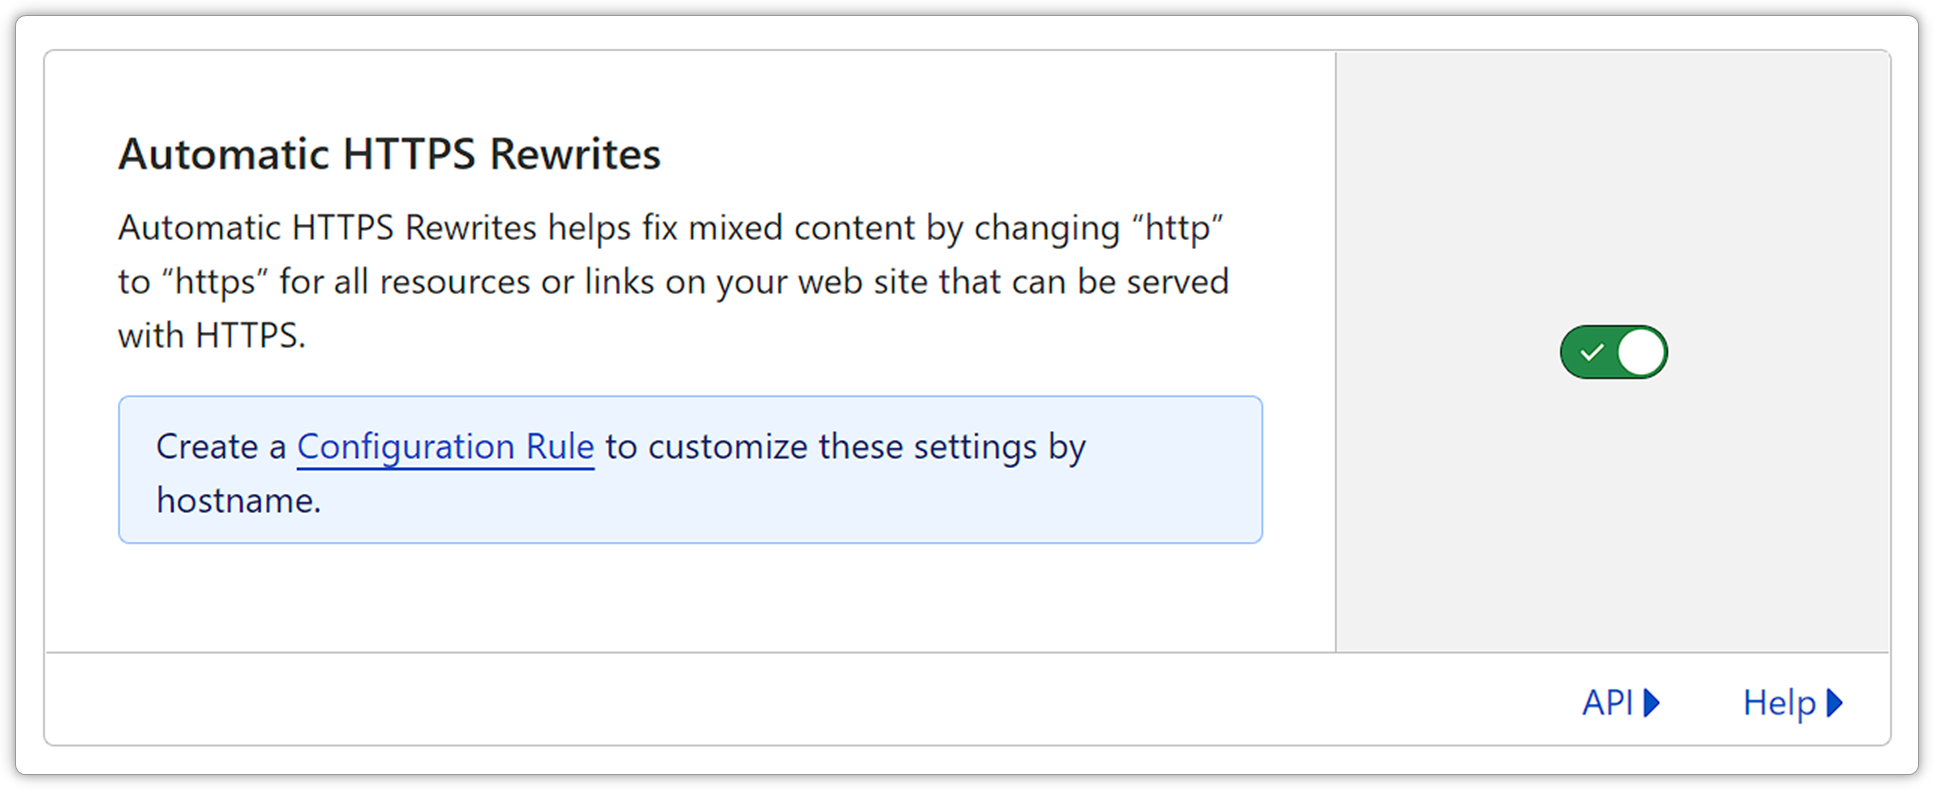
Unless you have a reason not to use rewrites, go with the recommendation.
The US Government recommends to always use HTTPS all that time so you can enable that in this next step. However, in my case I use full end-to-end encryption, because I manage my servers with SpinupWP (get $50 credit using the link) and their service issues a certificate on my server. This is a better option which depreciates using this setting.
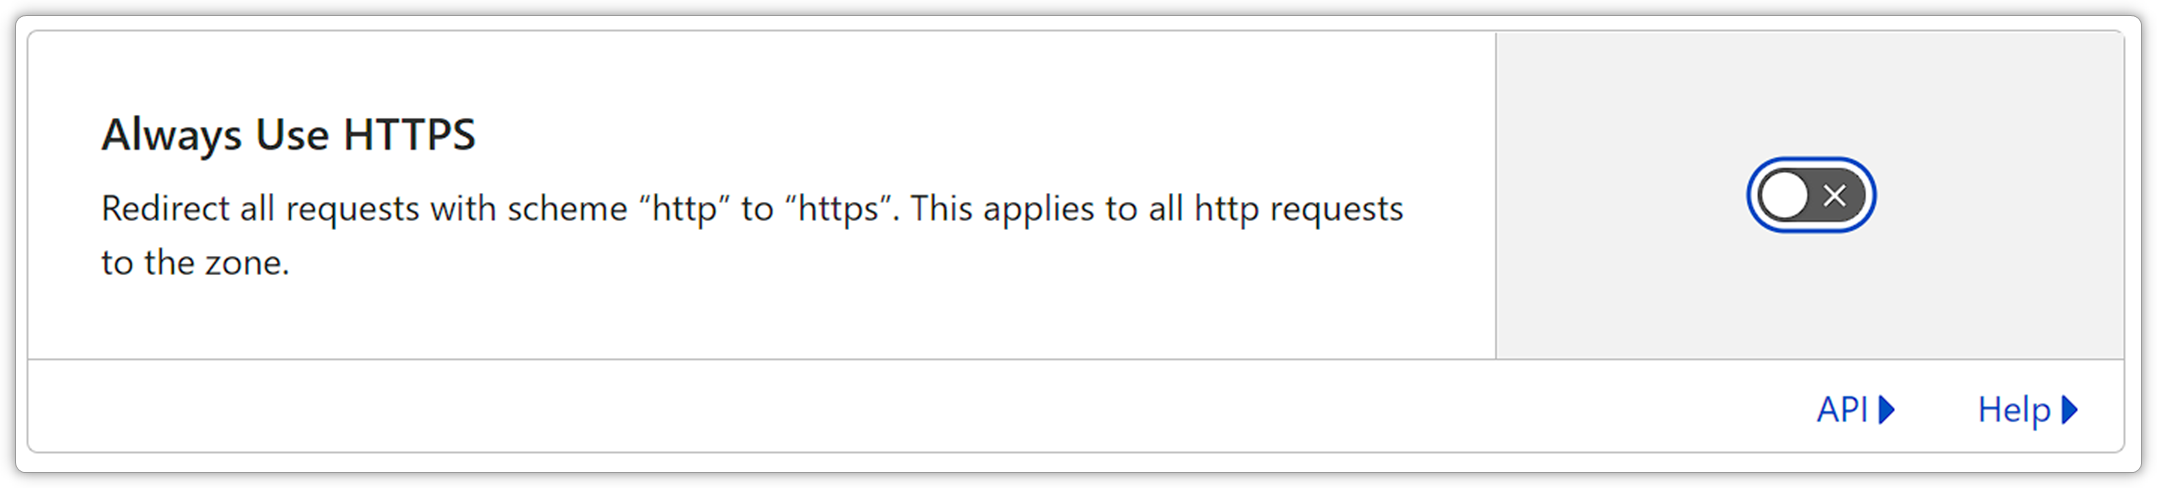
You can however, get a certificate from CF, too, for free. You would need to install it in your server, so you would need SSH access to your server or as an alternate you can use the Really Simple SSL plugin.
Optimize Performance
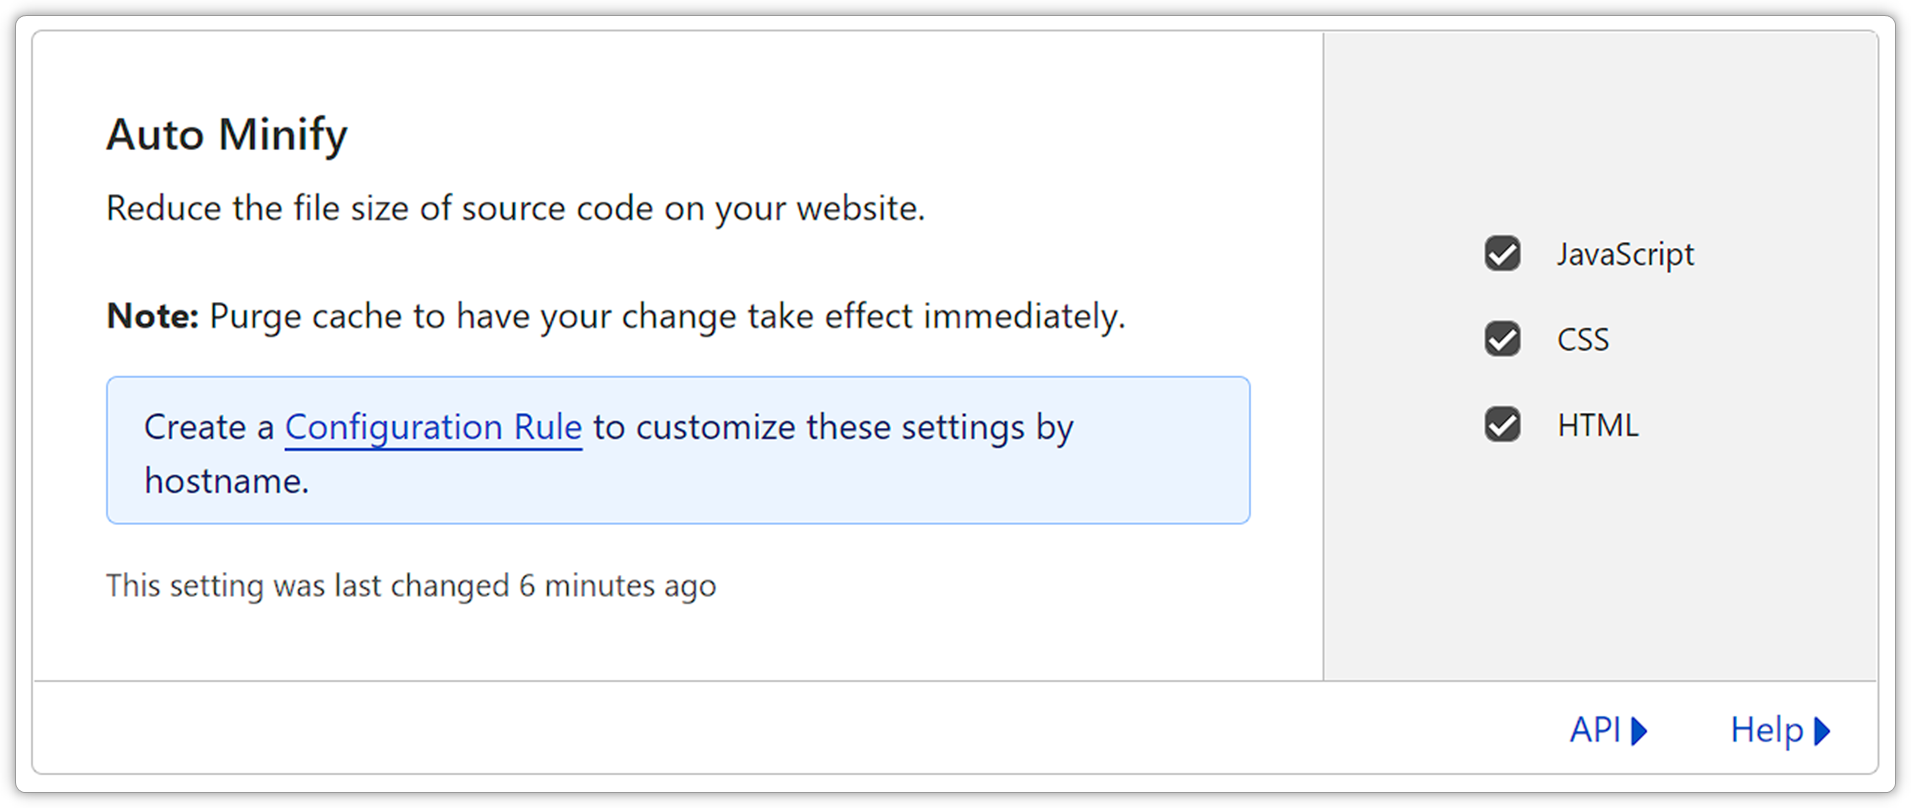
If you just built your website choose to minify everything, if you have other plugins you that do this for you on WP (WordPress) you may want to check what is better for you site.
Minify
In my case I chose to disable the plugins on WP and choose all the “minifications” to be done by CF. Later on we will install a plugin on WP that would enable CF to manage these “minifications” and cache better.
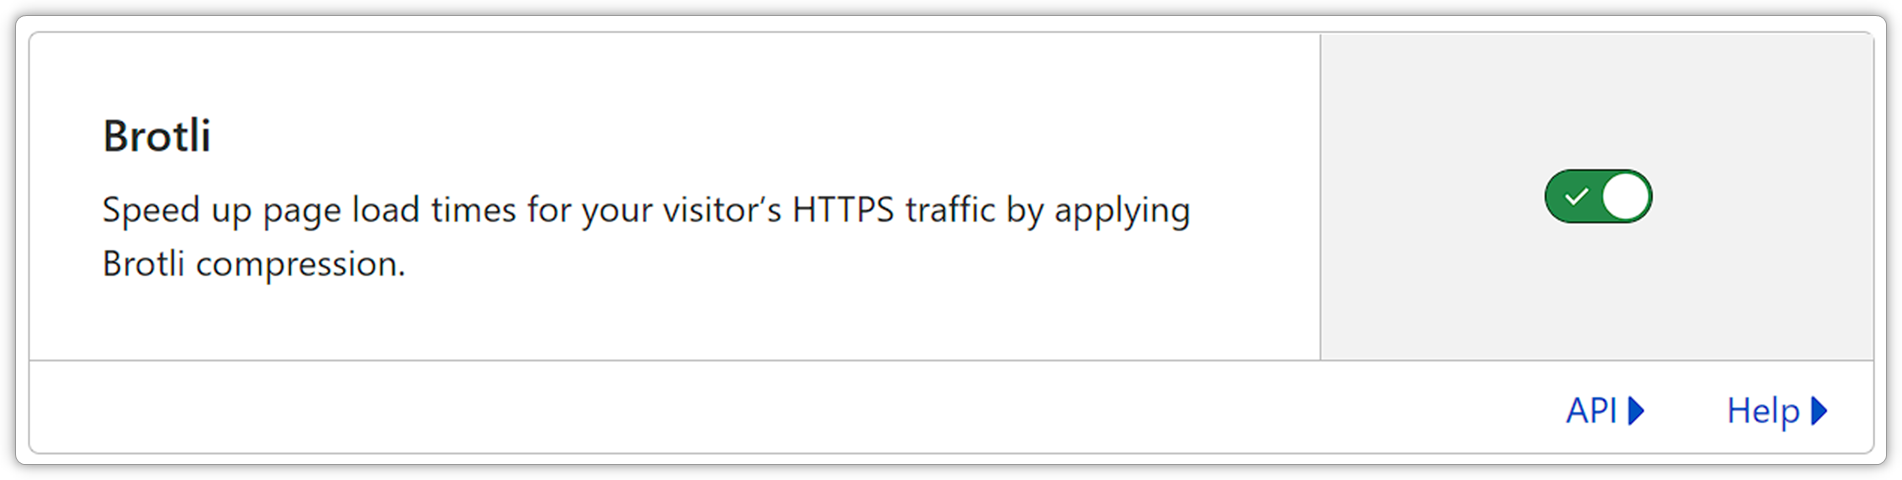
Compression
You can also use compression so the data transmitted travels faster and gets uncompressed when it arrives.
Review the summary and you are done… but not really. We have to keep going.

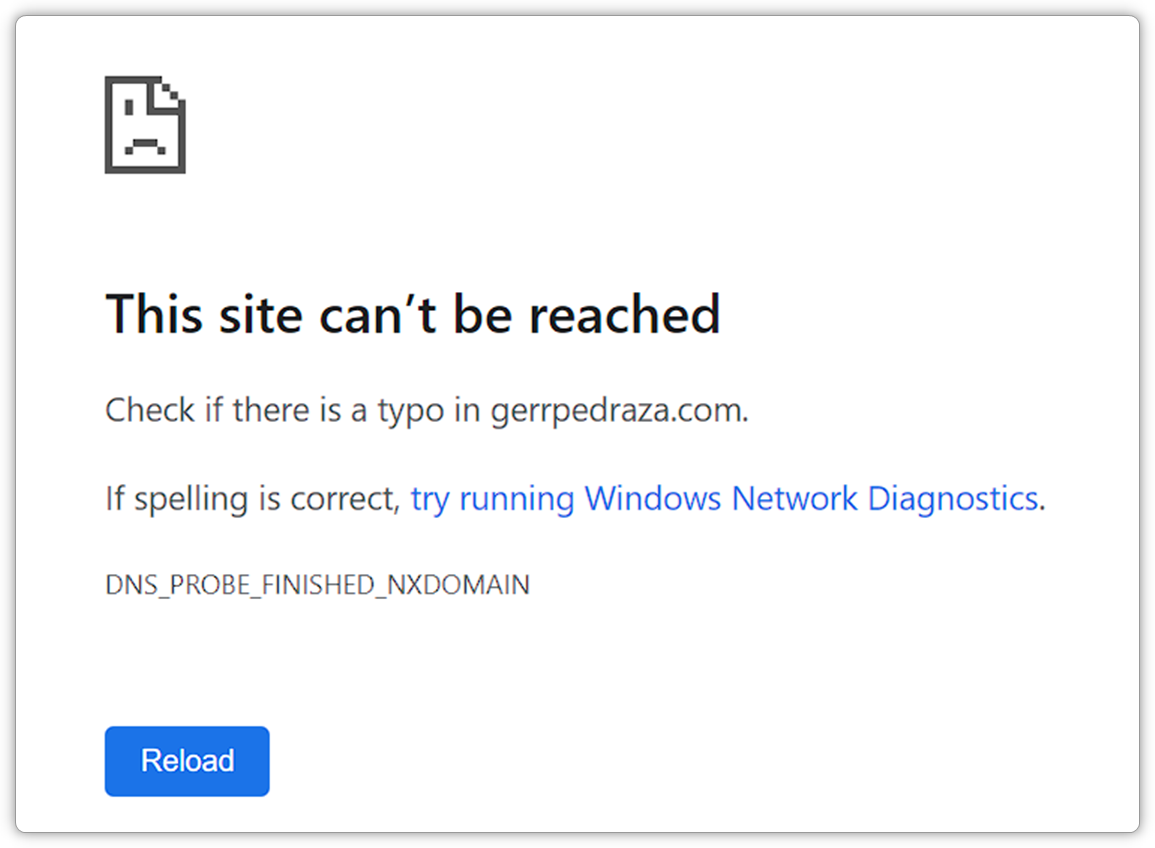
After enabling CF your website may be interrupted. In my case since I use end-to-end encryption I need to tell CF to use a strict policy.
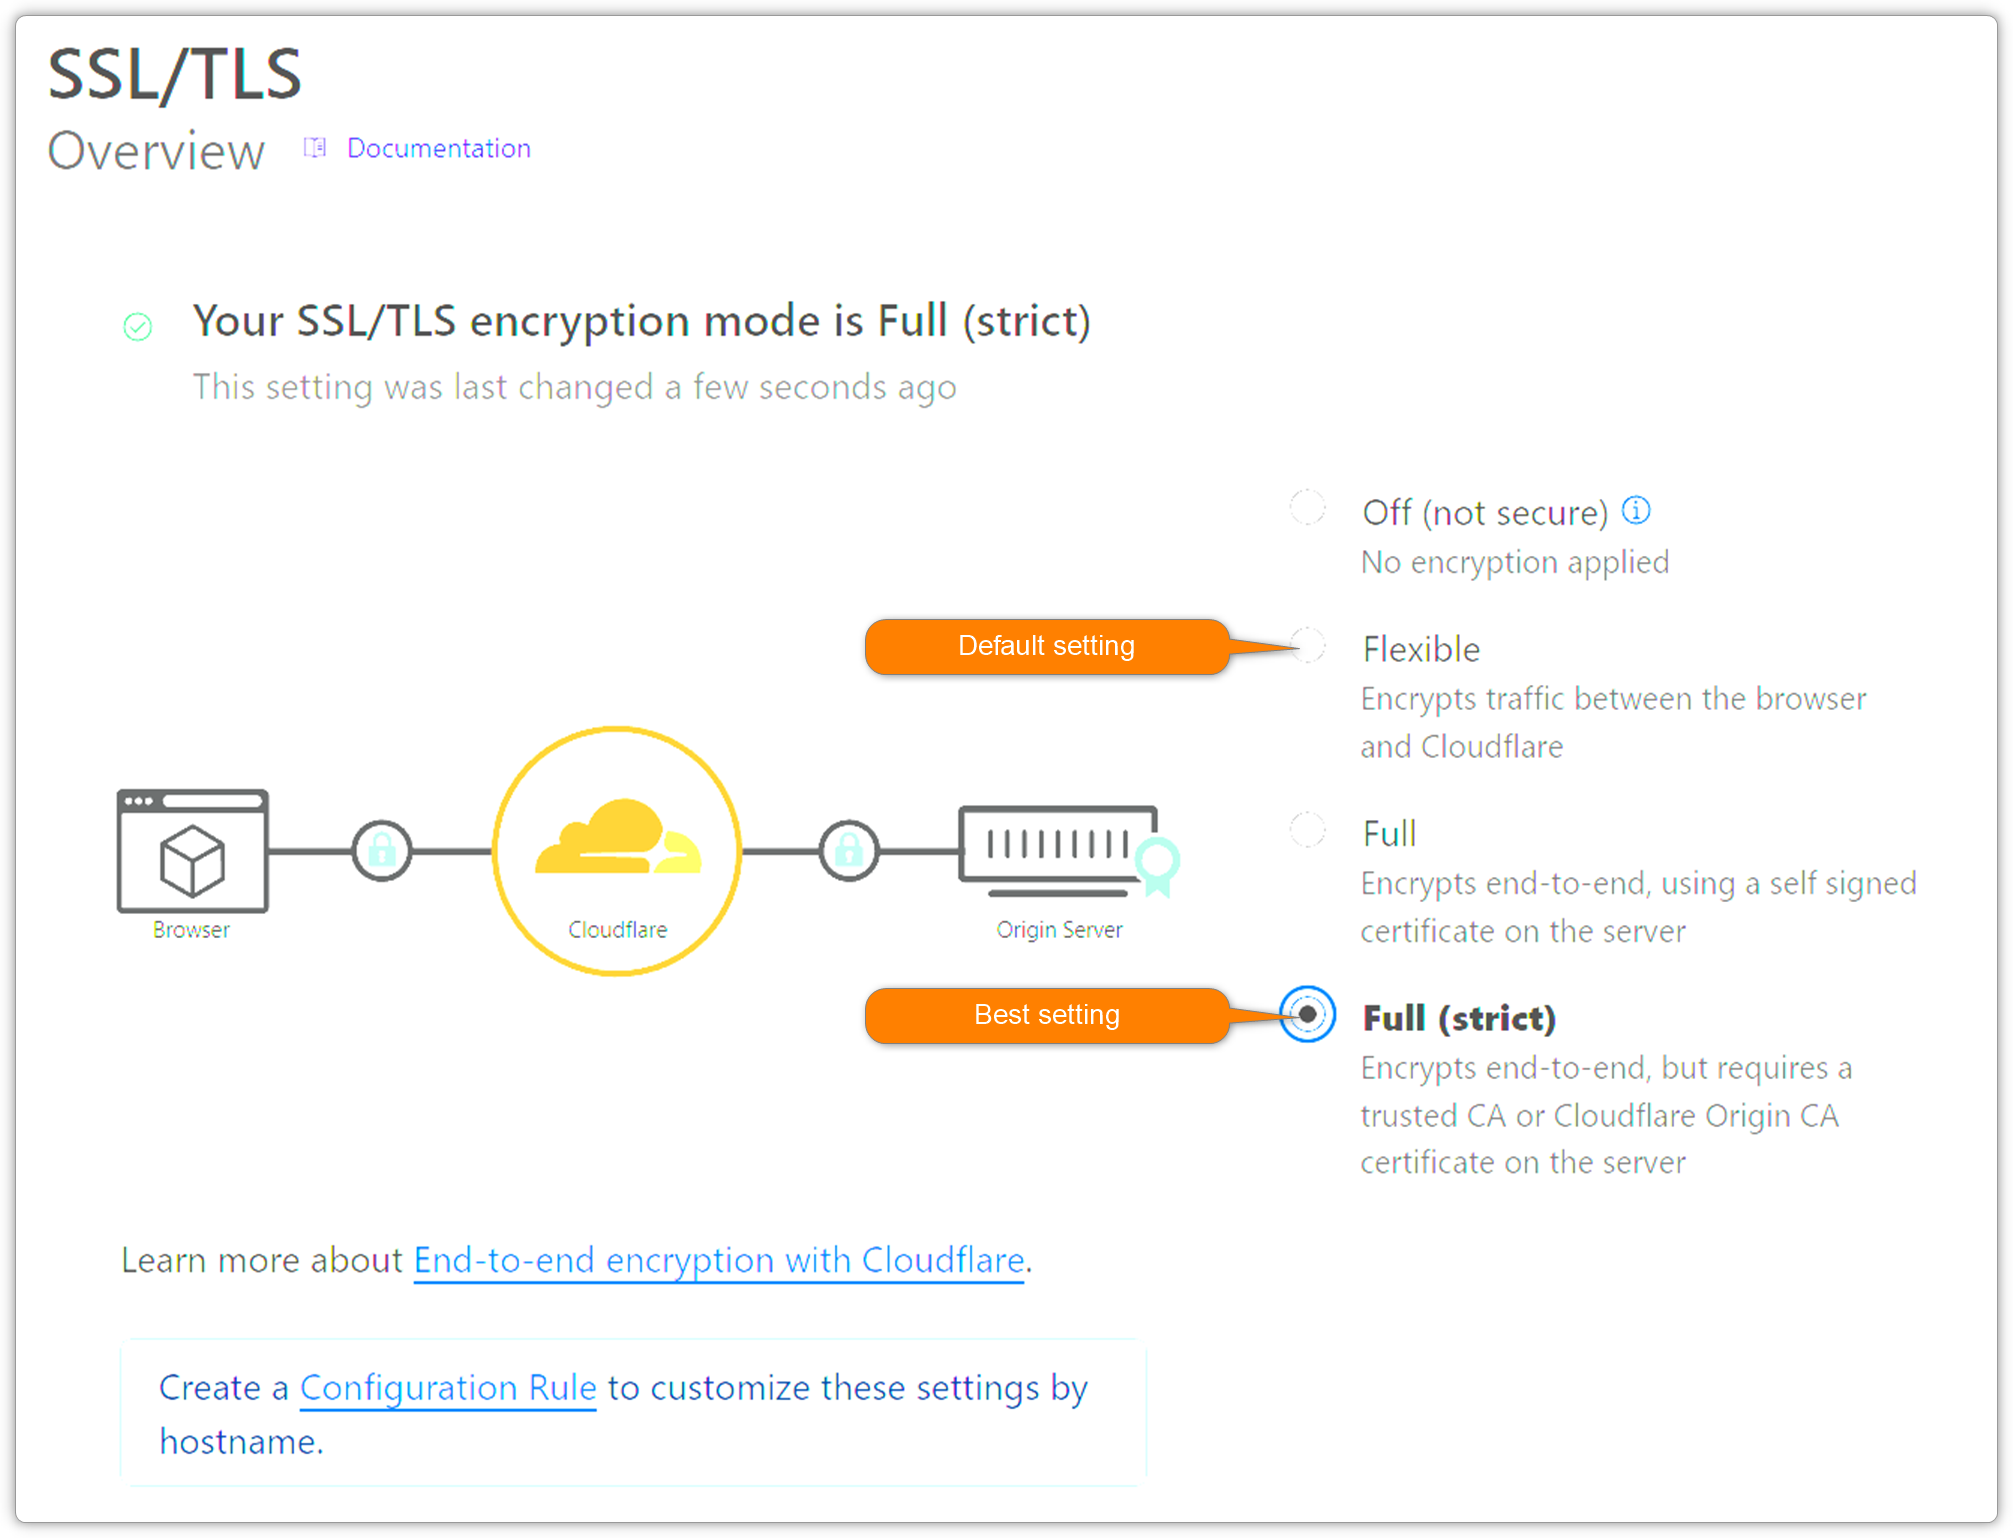
Add End-to-end Encryption
Go to SSL/TLS on CF and change the setting to strict to get end-to-end encryption. The flexible setting might work well for you depending on the route you choose to secure your server.
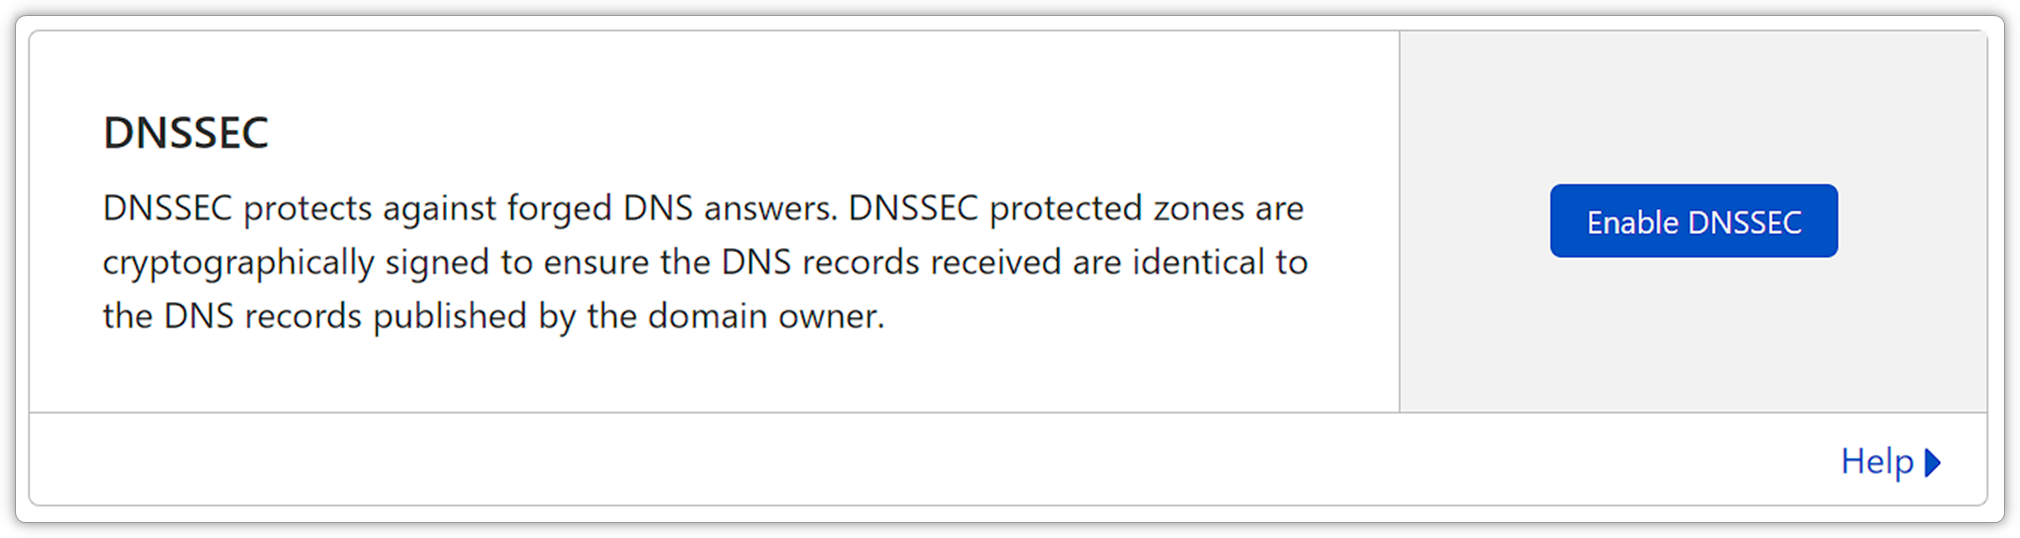
DNSSEC Protection
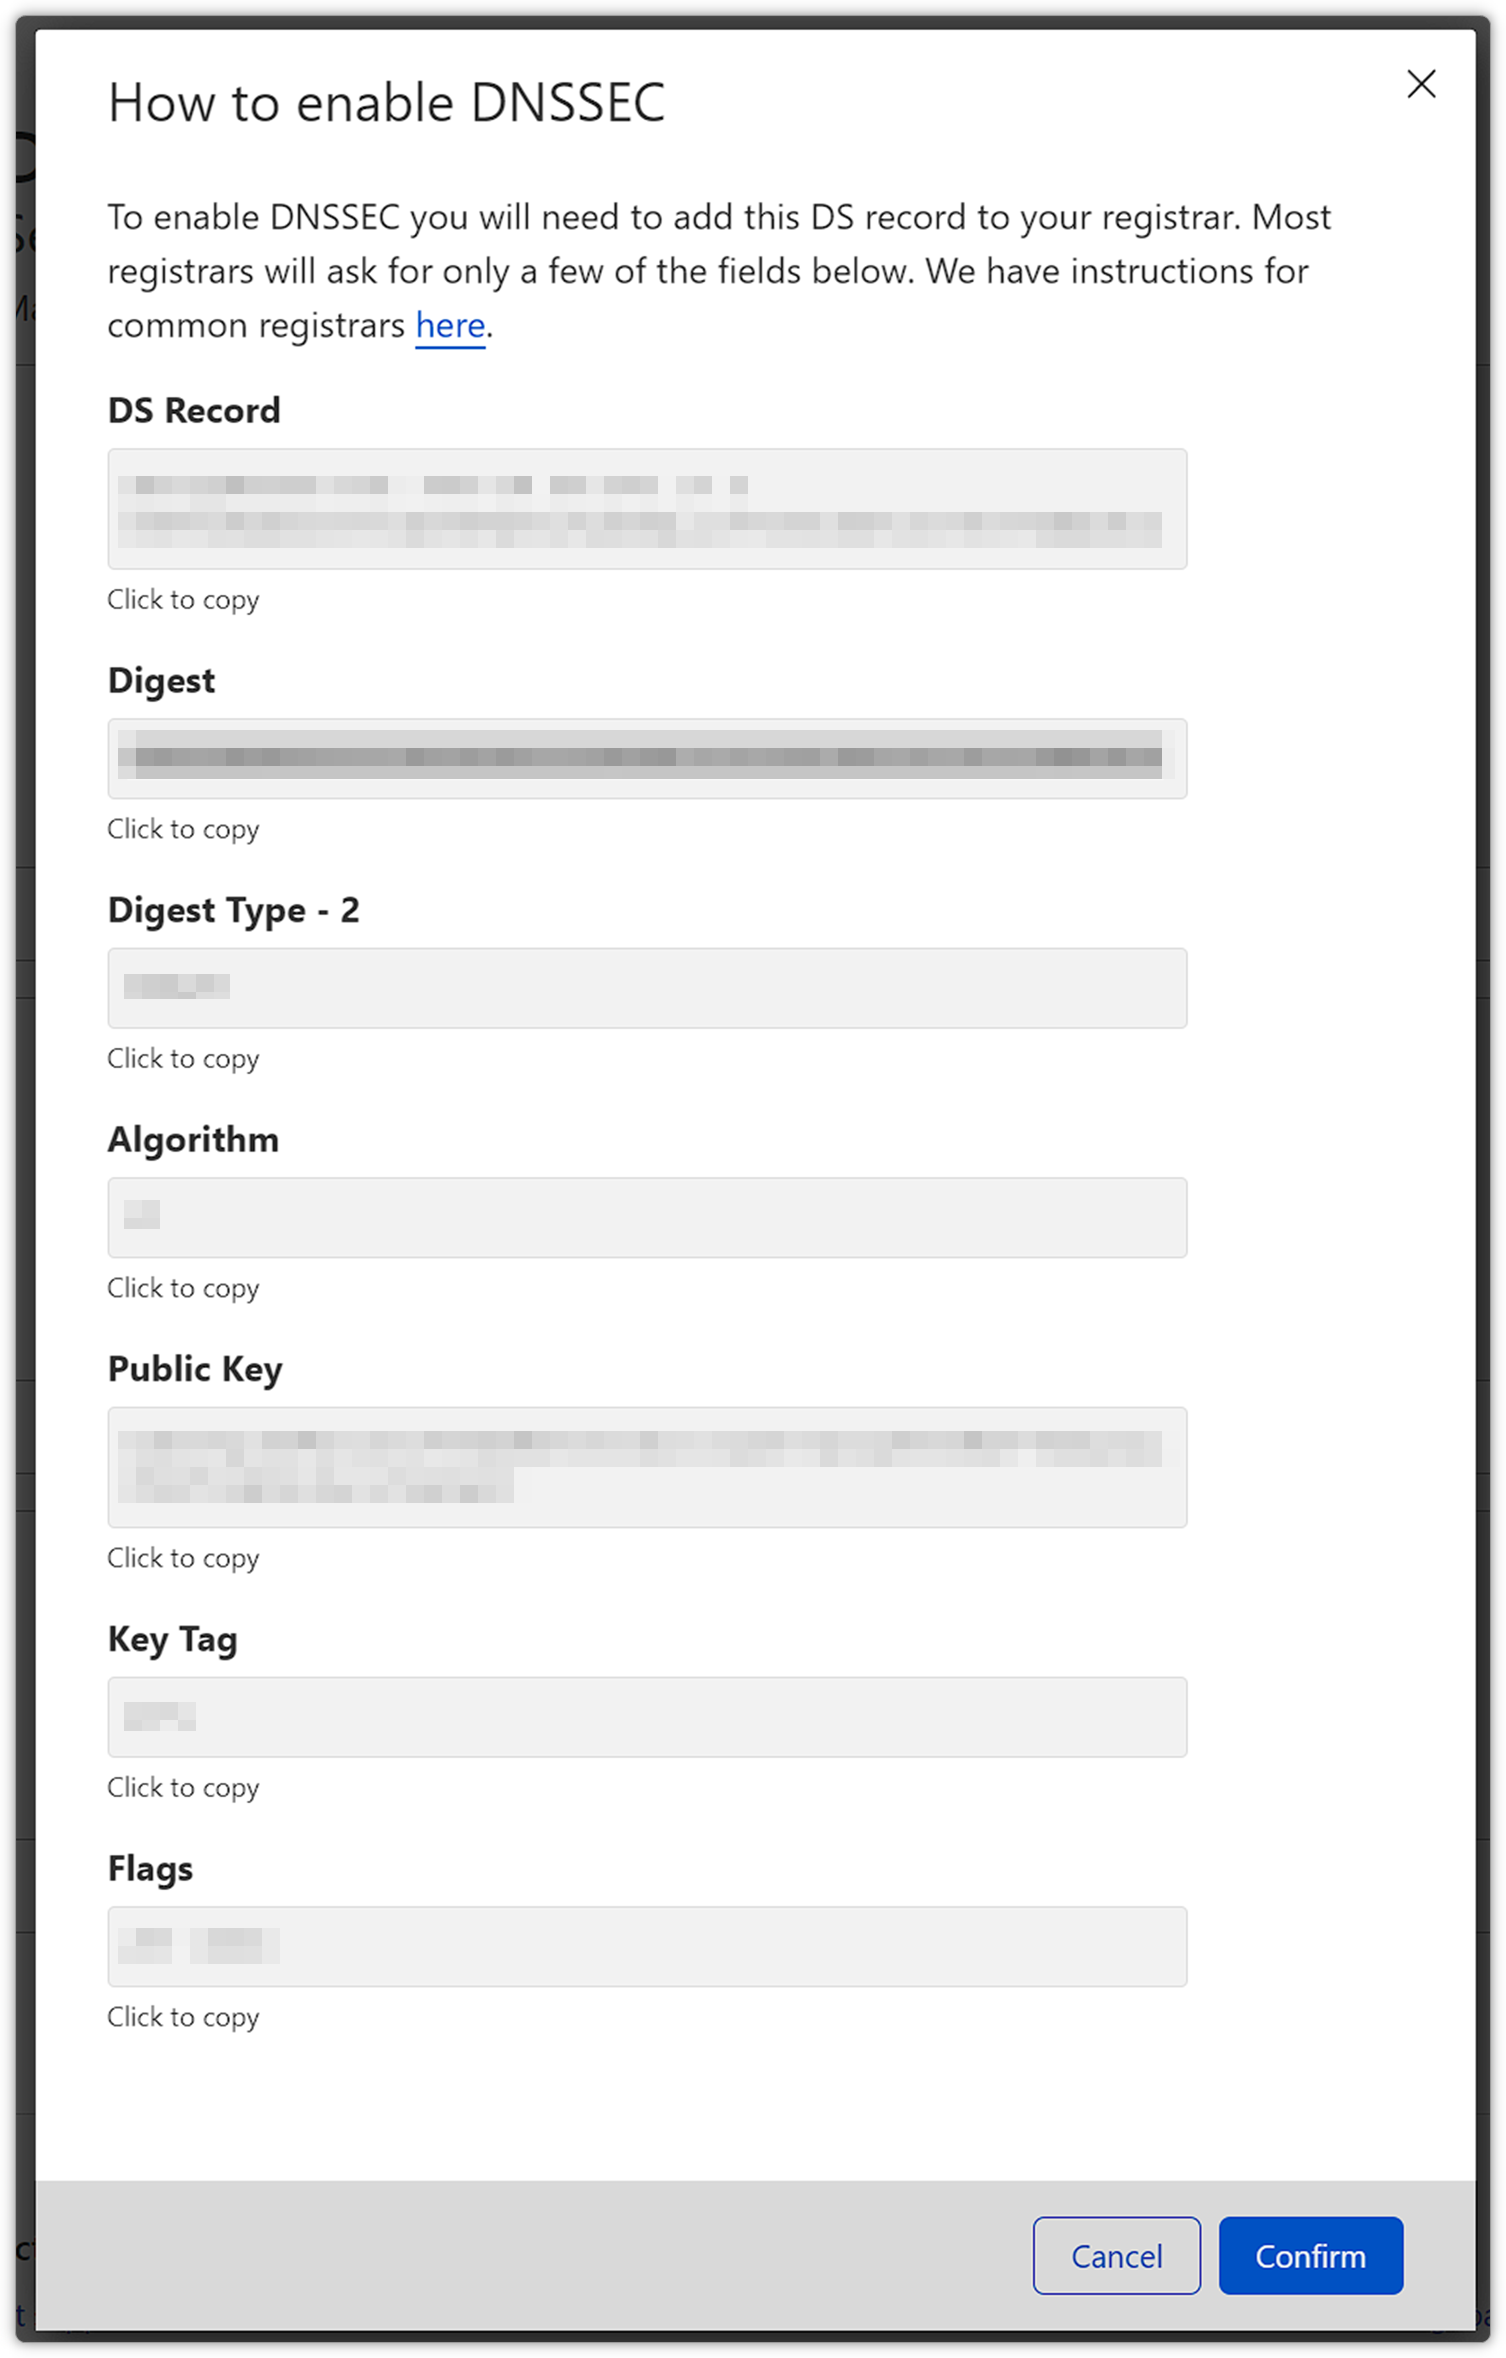
DNSSEC is easy to setup and a great tool to protect your DNS. In CF go to DNS / Settings and enable it.
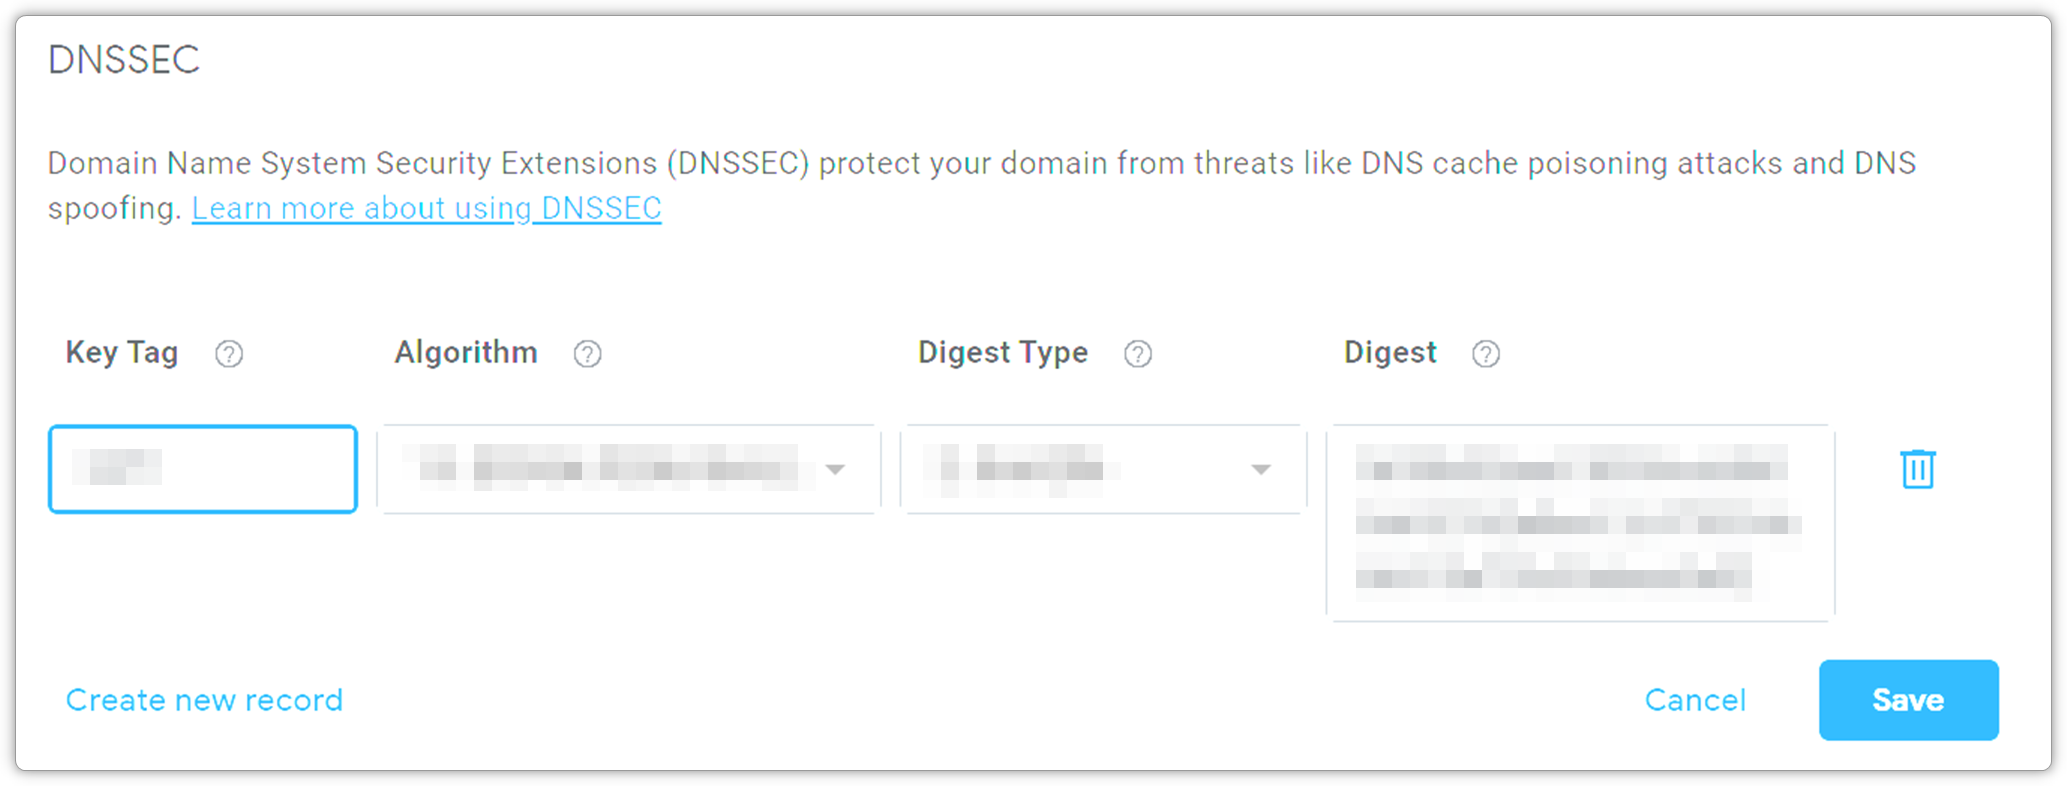
Now you have to go back to your registrar and enter the info below in the DNSSEC are of you registrar.
In this example this is how Google Domains look.
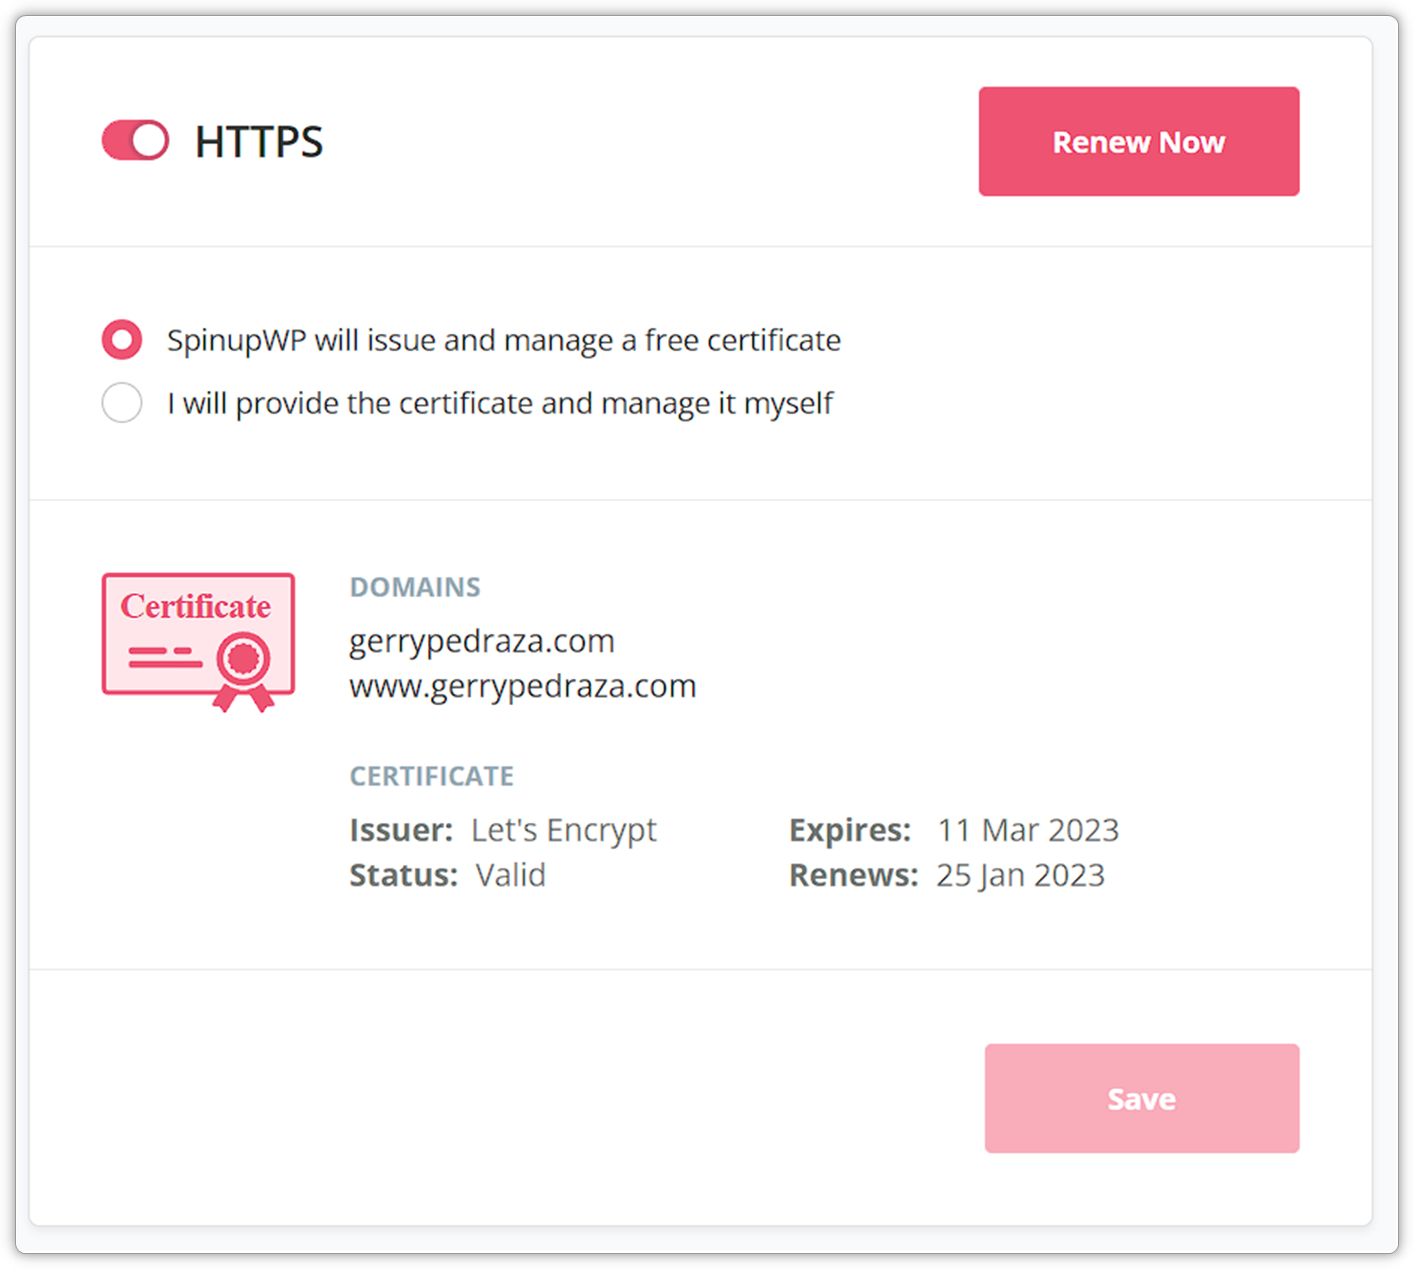
SSL Certificate
In my case I use SpinupWP (get $50 credit) to manage my servers. So I just click on Renew Now. It is really easy to install Ubuntu and WordPress using this tool.
This is the end of this tutorial, but there will be others that continue where we left off and continue making your website faster by using CF cache.
Resources
- LTX-Talk LaTeX Class: https://github.com/josephwright/ltx-talk
- PDF/UA Standard: https://www.pdfa.org/resource/pdfua/
- Beamer Documentation: https://ctan.org/pkg/beamer
- PAC Accessibility Checker: https://www.access-for-all.ch/en/pdf-lab/pdf-accessibility-checker-pac.html